Want to permanently delete your Camsoda account and make sure your data is gone for good? Many users search for this because they want to stop recurring charges and erase their digital footprint. Simply clicking “delete” in your account often isn’t enough.
Follow this guide to safely cancel subscriptions, delete your account, and submit a legal data removal request.
How to Delete Camsoda Account
Step 1: Cancel Your Subscription
Deleting your account does not automatically stop recurring charges, especially if you paid through Apple, Google, or a third party.
Cancelling Subscriptions Paid via Credit Card or PayPal
If you purchased a membership directly through the Camsoda website using a credit card or PayPal, follow the platform’s internal procedures:
- Log into your Camsoda account.
- Navigate to your Account Settings or Billing Settings.
- Locate the Membership or Subscriptions section.
- Find the option to Cancel Subscription or Manage Recurring Payments and confirm the cessation of billing.
Cancelling Subscriptions Paid via App Store (iTunes/Google Play)
For memberships purchased through your mobile device, the billing is managed by the external app store, not Camsoda. You must cancel the subscription within those platforms:
- For iTunes (Apple): Go to your device’s Settings $\rightarrow$ Tap your name $\rightarrow$ Select Subscriptions $\rightarrow$ Find the Camsoda subscription and select Cancel Subscription.
- For Google Play: Open the Google Play Store $\rightarrow$ Tap your profile icon $\rightarrow$ Select Payments & subscriptions $\rightarrow$ Choose Subscriptions $\rightarrow$ Find the Camsoda entry and select Cancel subscription.3
Your financial ties are not severed until you receive a confirmation email from the billing provider (PayPal, Apple, or Google) explicitly stating the recurring charges have stopped.
Step 2: Delete Your Account
Once you have confirmed all recurring payments are canceled (Step 1), you can proceed with the platform-specific deletion attempt. This action is irreversible.
1. Locate Account Settings and Deletion Option
Log into your account and navigate to the main Settings or My Account area. Look for a section related to Account Management, Privacy, or Notifications. Account deletion links are often intentionally difficult to find.
2. Choosing Permanent Deletion vs. Disabling
Most platforms offer two options, and the distinction is critical :
- Disable/Deactivate: This makes your profile invisible to others, but your data, content, and history are retained by the platform, allowing you to reactivate the account later.
- Delete/Terminate: This action is final and purges your content, history, and interactions according to the site’s Privacy Policy. Choose this option for permanent removal.
3. Final Confirmation and Retention Warning
Follow all prompts to confirm the deletion. The site will likely present a warning about the irreversible nature of the action. Once confirmed, your account will be removed from public view.
This internal deletion step, however, is often insufficient for a guaranteed data purge. To ensure maximum data erasure, you must proceed to Step 3.
Step 3: The Definitive Data Erasure Protocol (GDPR/CCPA Compliance)
The single most effective action you can take to permanently remove your digital footprint is to submit a formal Data Erasure Request. This legally binding demand forces the company to comply with global privacy laws, ensuring the removal of archived data, backups, and information shared with third-party affiliates.
Why You Must Send a Data Deletion Request
Deleting your profile via the site’s UI may only render the profile invisible, leaving your chat history, content, and identifying information archived. Under regulations like the European Union’s GDPR or California’s CCPA, you have the “Right to be Forgotten” or the “Right to Delete Personal Information”. By invoking these rights, you compel the platform to purge your data permanently.
Finding the Right Contact Point
Data erasure requests must be sent to the company’s official compliance or support channel. For Camsoda, this contact point is:
| Official Camsoda Compliance Email |
| support@camsoda.com |
Copy-Paste Data Deletion Request Template
Use this template to craft a legally sound email. Copy, paste, and personalize the sections in ****.
Subject: FORMAL DATA ERASURE REQUEST & REVOCATION OF CONSENT —
Body:
Dear Camsoda Data Protection Team,
This email constitutes a formal and explicit request for the permanent and total erasure of all personal data associated with my account, effective immediately.
My account details are:
- Full Name:
- Username (or Customer ID):
- Email Address Associated with Account:
I hereby formally invoke my Right to Erasure and/or Right to Delete Personal Information under (A) the General Data Protection Regulation (GDPR), if applicable, and (B) the California Consumer Privacy Act (CCPA) and other applicable US state privacy laws.
I specifically request that you:
- Permanently delete all my personal data, content, chat logs, photos, and archived information from all your servers, backups, and databases.
- Revoke all consent I may have previously given for the processing and storage of my data.
- Forward this deletion request to all third parties, affiliates, and data processors with whom my personal information has been shared, and confirm that they have also permanently deleted my data.
I require written confirmation within the legally mandated time frame (see below) that this request has been fully actioned.
Sincerely,
Understanding Regulatory Response Timelines
Once you send the formal request, the company is legally obligated to respond and comply within a set time period, depending on your jurisdiction :
| Regulation (Location) | Mandated Time to Reply/Comply |
| European Union (GDPR) | 30 days |
| California (CCPA) and most US States | 45 days |
How to Stay Private On Camsoda and Other Apps
Even after deleting your account, your personal information and online activity can still be exposed. Trackers, hackers, and public Wi-Fi networks can reveal your browsing habits, while geo-restrictions may block access to content you want. Without protection, managing accounts or browsing safely becomes risky.
BearVPN solves these problems:
- Hide your IP address – stay anonymous and prevent trackers from monitoring you.
- Ultra-fast servers worldwide – browse, stream, or manage accounts without delays.
- Unblock content anywhere – access apps, sites, or videos restricted in your region.
- Strict no-logs policy – your activity is never stored or shared.
- Military-grade encryption – safeguard your data on any network, even public Wi-Fi.
How to Use BearVPN to Stay Private Online:
Step 1. Download and install BearVPN from the official website or app store on your device. Make sure you choose the right version for your platform (Windows, Mac, Android, or iOS).
Step 2. Sign in or create an account quickly with your email. No personal data is required, keeping the setup private.
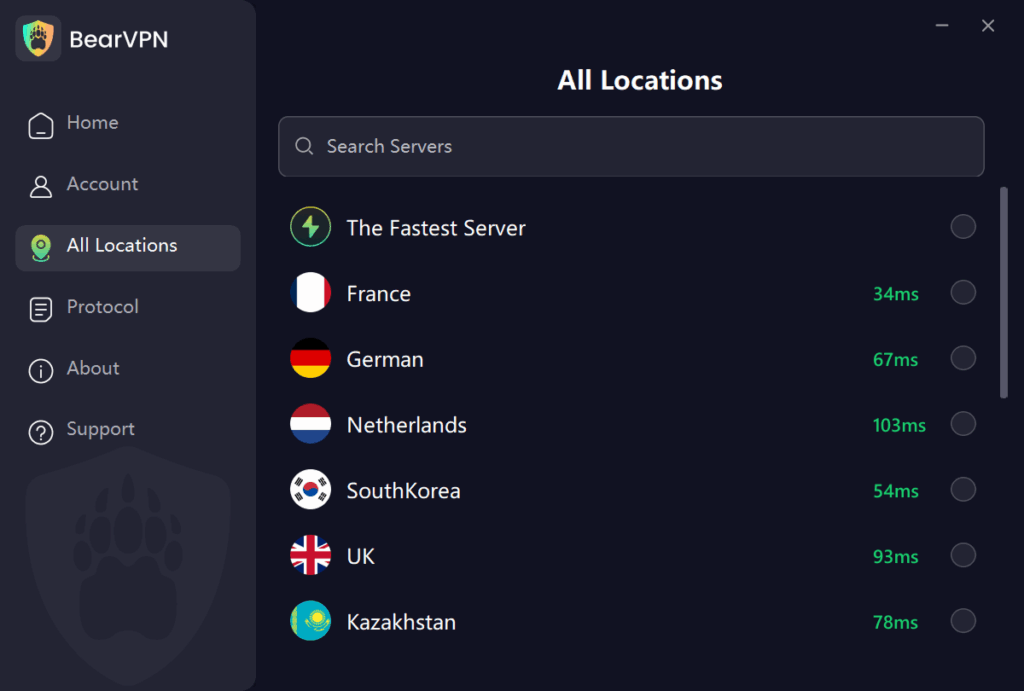
Step 3. Choose a server location based on your goal:
- Pick a nearby server for the fastest speed.
- Pick a different country to unblock region-restricted content or hide your real location.
Step 4. Connect to the server. Once connected, your IP is masked, your connection is encrypted, and your online activity becomes private.
Step 5. Manage accounts or browse safely. Now you can log in to apps, delete profiles, or stream content without leaving a trace.
Conclusion
Deleting your Camsoda account isn’t just about clicking “Delete.” To fully protect your privacy, first cancel any subscriptions to stop recurring charges, then delete your account to remove your profile. Finally, send a Data Erasure Request to support@camsoda.com
using the provided template—this legally ensures all your personal data, backups, and shared information are permanently removed.
FAQ
My subscription is still active despite account deletion. What now?
This is the most frequent financial failure point. If you paid via an external service (iTunes/Google Play or even a third-party credit card processor), you must contact the billing service directly, not Camsoda support. The billing system does not recognize account deletion on the platform itself. Review your financial statements and contact the entity that processes the charge to confirm the recurring payment has been terminated.
Does deleting my account remove my history, content, or chat logs?
Deletion via the website typically removes the public profile. However, for a complete purge of all archived data, internal logs, and information passed to affiliates, the formal Data Erasure Request (Step 3) is required. This legal action ensures the company is compelled to remove your digital footprint to the fullest extent of the law.
What if Camsoda support ignores or refuses my request?
If the legally mandated compliance deadline passes (30 or 45 days) without a satisfactory response, you have the right to escalate the matter.
- In the EU: File a complaint with your local Data Protection Authority (DPA).
- In the US (California/Texas/Virginia, etc.): File a complaint with your state’s Attorney General’s office, citing the specific violation of your state’s privacy act (CCPA, TDPSA, VCDPA, etc.).
Can I reactivate my account after deleting it?
No. If you choose the permanent deletion option in Step 2, the action is irreversible, and all associated data is purged. If you think you might want to return, you should choose the “Disable” or “Deactivate” option instead. If you have any doubt, use the Disabling feature, but remember that only deletion ensures content is purged according to the privacy policy.